Xcache can be enabled in cPanel by using Easy Apache.
- Log into your cPanel server
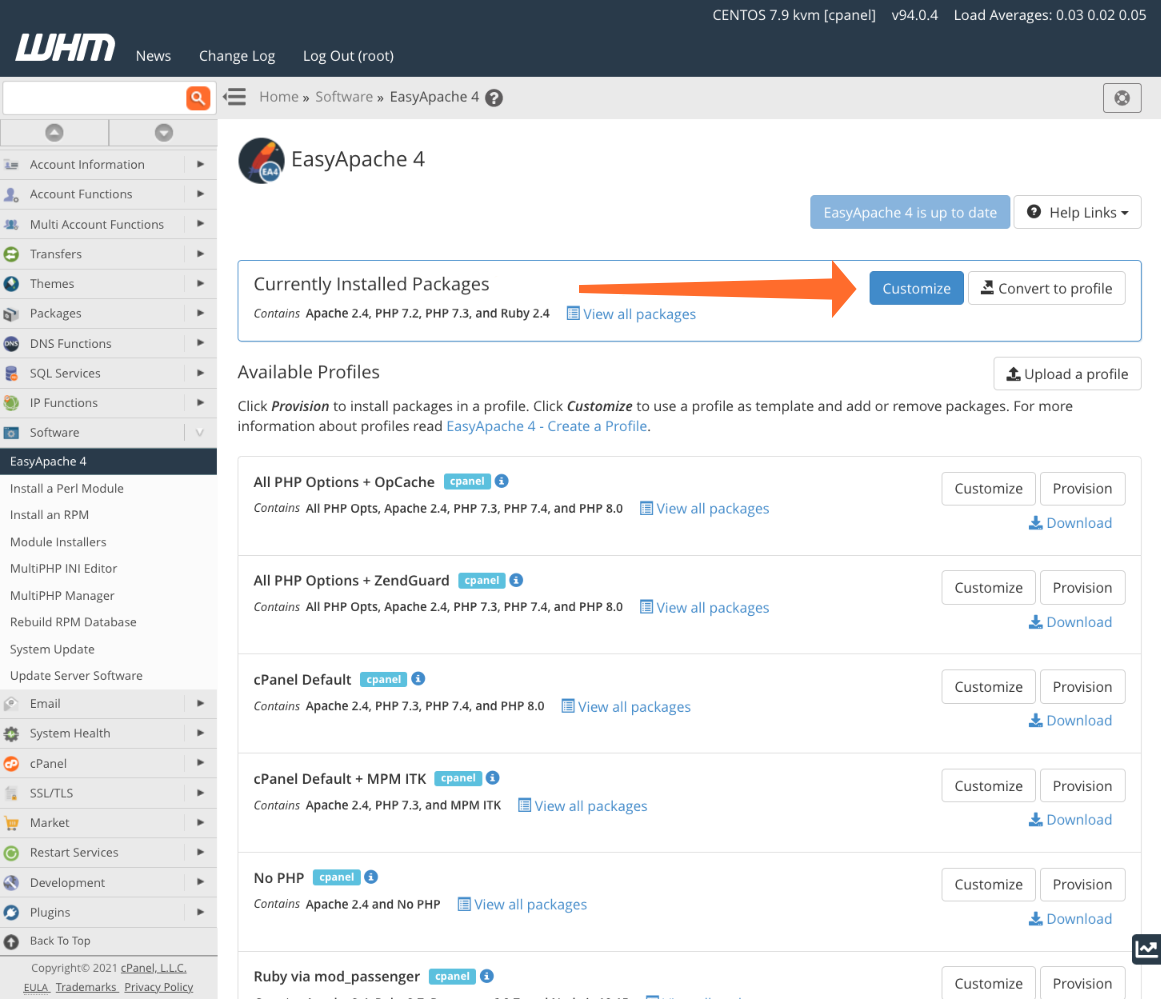
- After you log in, search for “EasyApache” in the left column and click on the link
- Select “Previously Saved Config” and click on “start customizing”
- For both Apache and PHP, click on the “next step” button
- Look for “xcache for php” and check the box
- Click on “save and build”
- Allow the build process to finish
- To enable xcache, you will need to make changes to php.ini before it can be used by your scripts.
- Login into your server using SSH
- After you log in, enter “pico /usr/local/lib/php.ini”
- Hold ctrl+W and search for “xcache”
- Make necessary changes and to enter ctrl+O to save the file
- Afterward you will need to restart Apache in WHM for changes to take effect
Here is recommended settings for xcache in cPanel
[code]xcache.admin.pass=””
xcache.admin.user=”mOo”
xcache.cacher=”On”
xcache.coredump_directory=””
xcache.count=”1″
xcache.coveragedump_directory=”/tmp/pcov/”
xcache.coverager=”Off”
xcache.gc_interval=”300″
xcache.mmap_path=”/dev/zero”
xcache.optimizer=”On”
xcache.readonly_protection=”Off”
xcache.size=”50M”
xcache.slots=”8K”
xcache.test=”Off”
xcache.ttl=”3600″
xcache.var_count=”2″
xcache.var_gc_interval=”300″
xcache.var_maxttl=”7200″
xcache.var_size=”16M”
xcache.var_slots=”8K”
xcache.var_ttl=”3600″[/code]